

10 essential tools you need to build a PC - coteproself67

Alaina Yee / IDG
You can build a PC with just a screwdriver or two available, but you'll birth an easier time of it if you have totally the essentials present. That includes tools to get you stunned of sticky spots, which always occur when you assume they won't. Stay fresh these 10 items on hand down for builds and they'll keep your assemblage woes to a minimum.
We've distributive the list into the absolute essentials (for the minimalists out there) as well as our recommended additions for a well-hyperboloidal kit up. But really, there's no call for to scrimp. Wholly of these tools are very affordable.
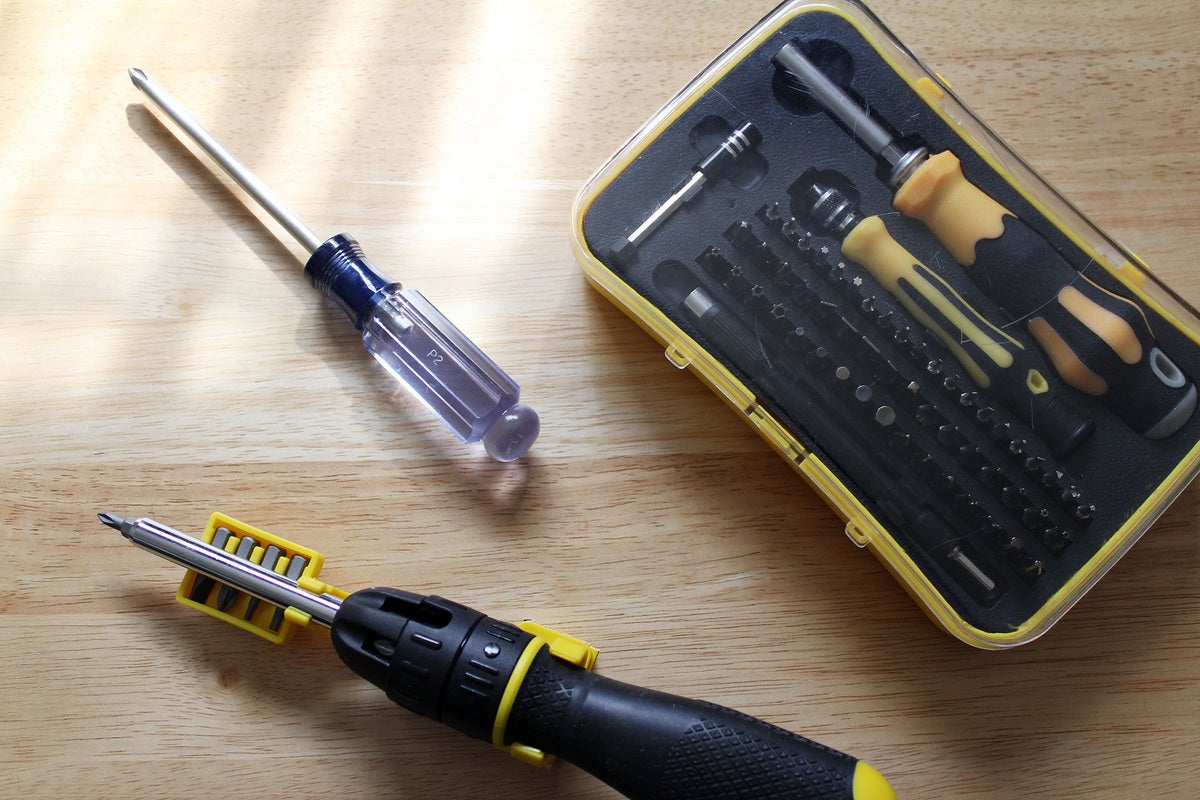
Screwdriver (Phillips #2)
 Alaina Yee / IDG
 Phillips #2 screwdrivers in various forms. We recommended getting a magnetised version (or magnetizing a casebook one).
Nearly totally screws in a computer case require this cross-headspring screwdriver. Some Phillips #2 screwdriver leave do—follow it the plain, authentic CraftsmanRemove non-product linkup in your toolbox, the fancier ratcheting typeDispatch non-product colligate with swappable bits, or kits with a full raiment of bits that include a PH2 head.
We extremely recommend getting a charismatic screwdriver, or purchasing a magnetizerBump off not-merchandise link to convert your active tools. You can go a magnetic screwdriver kit with exchangeable bitsPolish of non-intersection link for quite cheap, usually around $15. Regardless of what you opt, this buy testament save you the time and hassle of fussing with screws that refuse to stay arrange as you attach them and / or that crepuscule into hard-to-reach places.
Should you bear hand injuries or tendonitis, look into ratcheting screwdrivers, which help reduce fatigue. For much torque, get a screwdriver with a fatter handle.
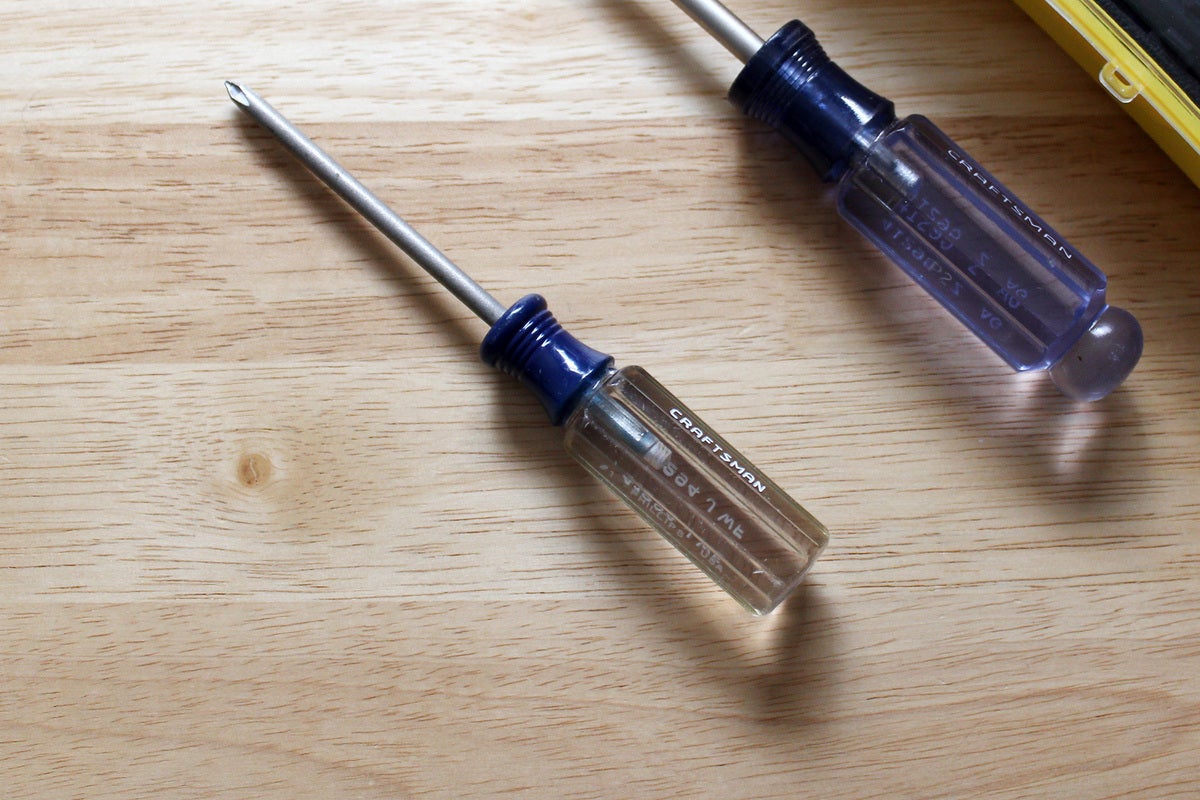
Screwdriver (Phillips #1)
 Alaina Yee / IDG
 Installing an M.2 drive? You'll necessitate a Phillips #1 screwdriver.
Adding an M.2 SSD to your build or laptop computer? You'll need a Phillips #1 screwdriverRemove non-product link, as a Phillips #2 will personify too large for the love beat back (the indentations on the screw straits accustomed turn the screw).
Since M.2 SSD mounting screws are difficult, you won't need much torque to get them in surgery out and thus a slender or small screwdriver works fine. You should drive a magnetized one and only though, as screws that proceeds a Phillips #1 tend to follow small and undemanding to lose course of.
Builds that don't use any M.2 SSDs can get aside with impartial a Phillips #2, but we've found that it ne'er hurts to possess a Phillips #1 on hand.
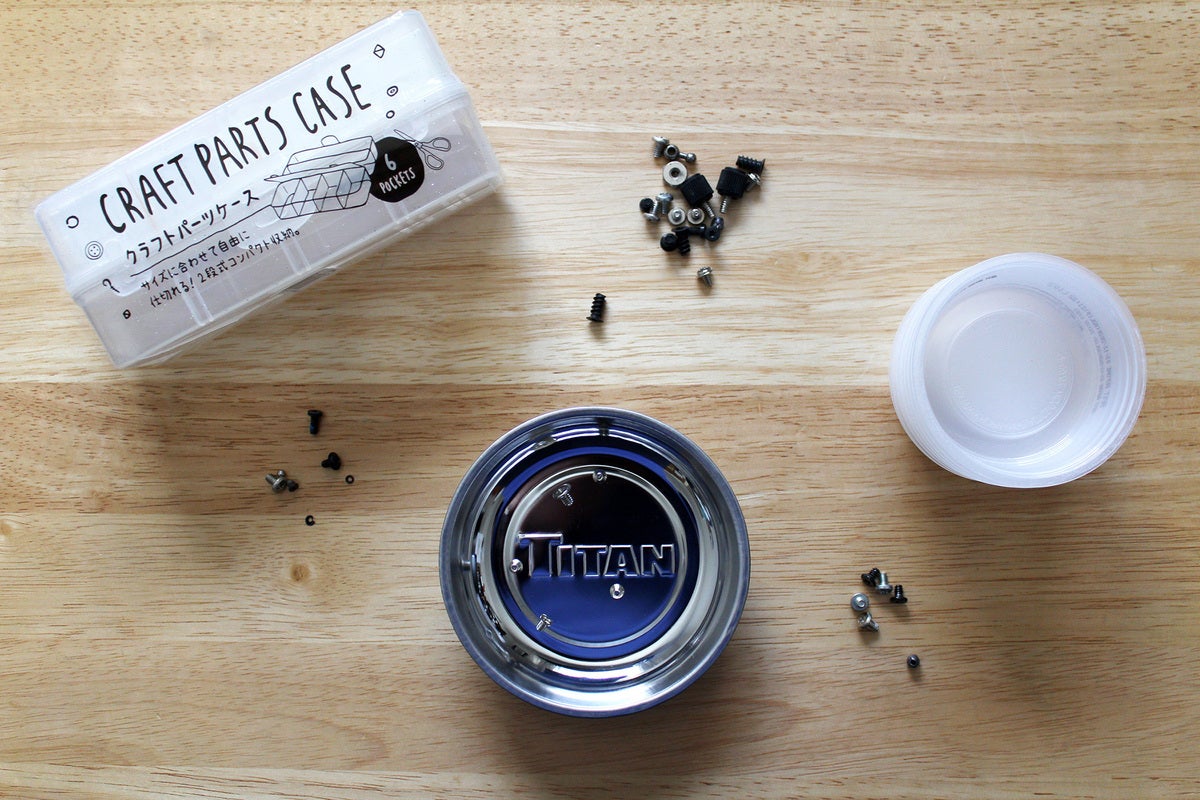
Screw tray
 Alaina Yee / IDG
 You give the axe use any you have as a hump tray, or upgrade by purchasing a magnetized tray. (The last mentioned provides some protection against cats and their mischievous tendencies.)
You should put screws in some kind of container as you workplace—a shallow lulu or bowl, a tray, even a loving cup. (Using more than one is even better, Eastern Samoa you can sustenance get over of different screw types more easy.) Placing everything loose onto a table usually results in missing screws, while clothing pockets run the risk of exposure of screws becoming lost as you move around.
For a more kempt solution, use a exculpate oral contraceptive caseDispatch non-ware link or a bead organizerOff non-product link to hold and store screws. They range from $2 to $7 in toll, take little distance, and let you see everything at a glint. If you take over a fixed work area, you can instead opt for a larger computer hardware organizerRemove non-product link, which wish have fourfold midget boxers. Leave indefinite or 2 compartments free for dumping in screws as you build.
You can besides buy a magnetised trayAbsent non-product connec surgery a magnetic matRemove not-product link if you're concerned about knocking items around along a work surface (Oregon own a standard-cut cat that pushes items off tables). These run between $6 to $10.
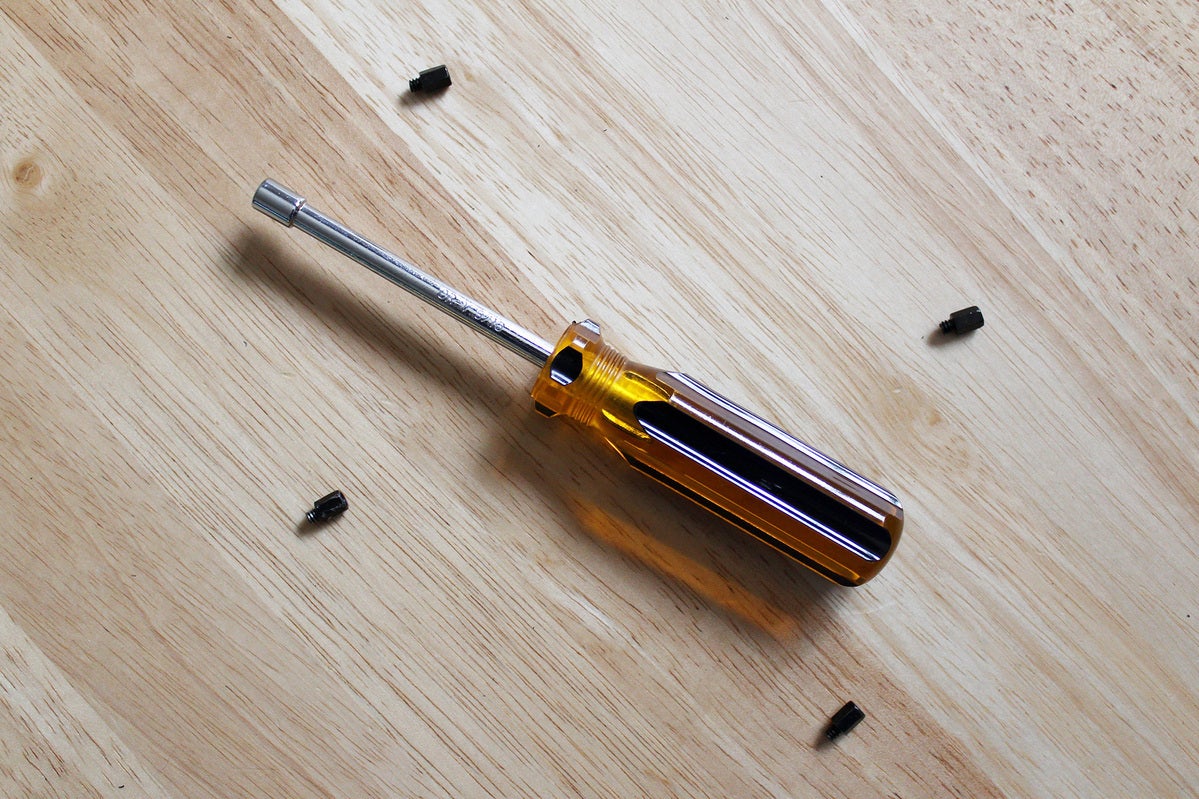
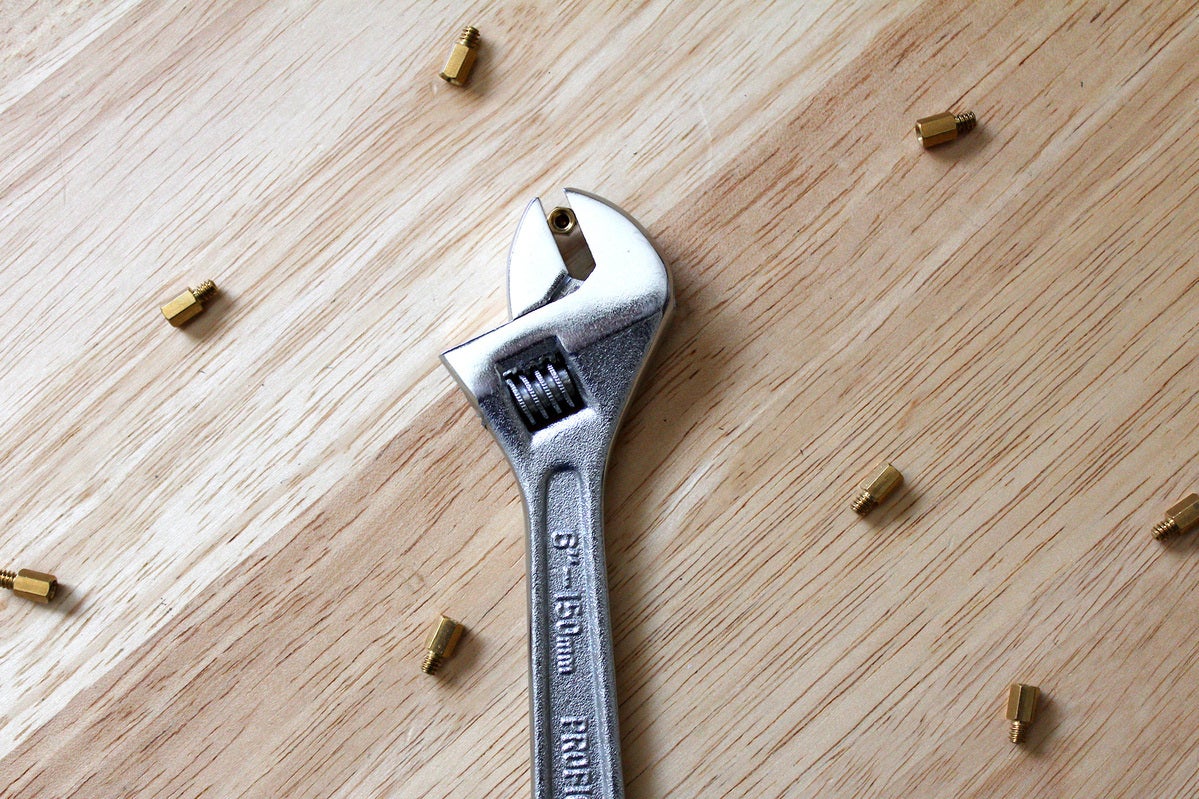
Whammy nut driver
 Alaina Yee / IDG
 A hex nut driver bears out the adage "an ounce of bar is worth a pound of cure."
If not demanding go through sufficiently, motherboard standoffs john come loose as you try to loosen the screws holding the mainboard in shoes. The screw remains clenched inside the standoff, however—going you in purgatory until you can keep apart the tie still as you remove the bang. In fact, further cut down this list are tools to assistant fix that common problem.
Simply if you own a hex nut driver in the right size, you fundament avert that time and irritation. Before you mount the motherboard, slip it over the standoffs and see each one is firmly attached to the case. No need to overtighten, either; just a bit late when the draw start hits the metal of the case. Overmuch and you risk stripping the bon threads on the standoffs.
Recall a spinning tie will ne'er happen to you? Readjustments can come functioning during building. Besides, afterward maintenance on your system of rules May require it. Believe us, nothing stokes deep rage like when a draw gets stuck as you try to remove a mobo for an RMA riposte.
Some cases come with an accessory—a small metal piece compatible with a Phillips #2 screwdriver—that fulfills this same use, only non all Doctor of Osteopathy. You may as wel have a trifle like this in a screwdriver outfit you already own or will be buying (look for the M5 size).
If neither apply to you, you can purchase a standalone 5mm hex egg driverRemove non-product link. Information technology will work with the 2 most common sizes of standoffs, though the small size of it will be a tad loose. (For a perfect set, also buy out a 3/16-inch hex testis number one woodRemove non-merchandise link.) You may want to grab these thoughtless of what you already own, A the larger clench on a standalone hex nut driver makes tightening operating theater relaxation the standoff easier.
Already have a small adjustable wrench in your toolbox? That works too, though IT's more awkward to maneuver than a hex nut driver.
Flashlight or headlight
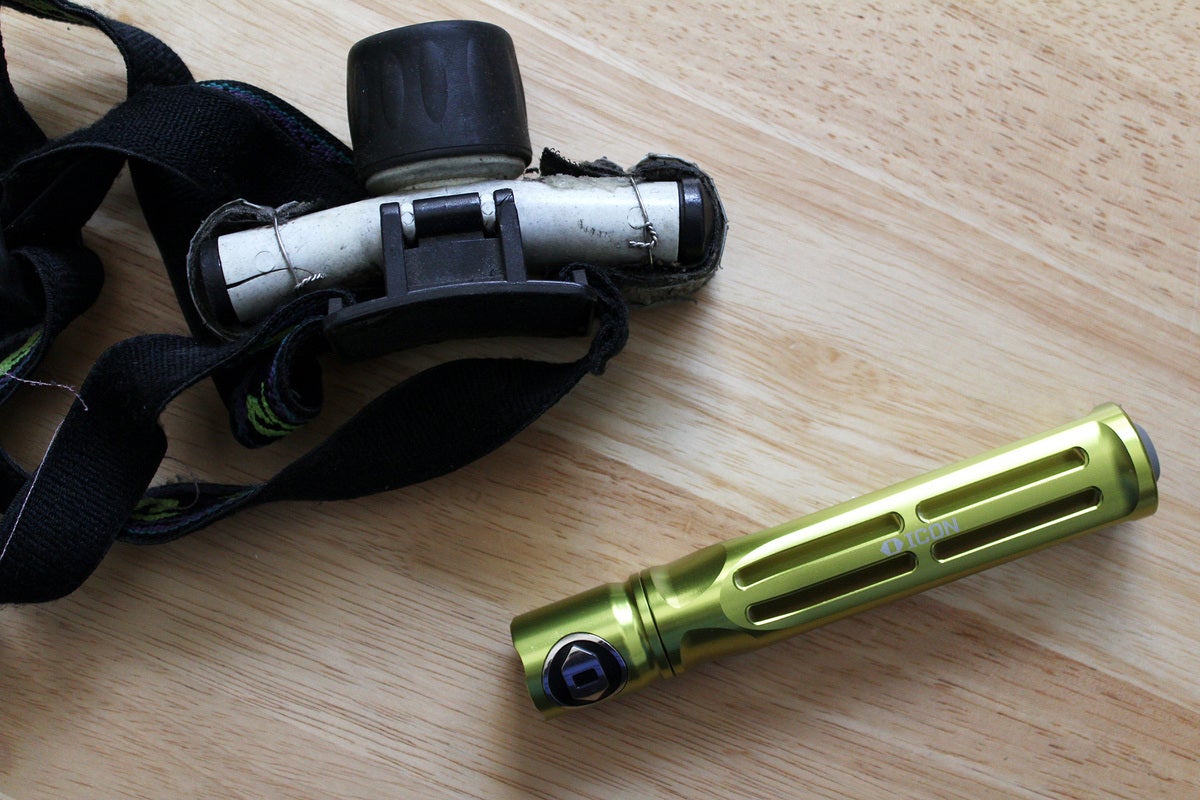 Alaina Yee / IDG
 Headlamps require less juggle to purpose compared to a torch.
Normal lighting tooshie produce shadows that reduce what you can see spell impermanent in a pillowcase, especially if it's a dark chassis. A good flashlight makes clear where stray screws rolled, the labels on front panel pins, and where that one last screw hole on the mobo is. You posterior get an affordable tactical torchRemove non-product link starting at about $15.
For the ultimate in practicality, a headlamp makes working in dark, tight floater of your case even easier—since it's strapped to your forehead, you behind keep working without interruption. You can get a reliable united for just a spot more than a flashlight, with this pop modelBump off non-product link coming in at $20.
Adjustable wrench
 Alaina Yee / IDG
 A crescent wrench can fill a dual role in your tool case: Use it to tighten standoffs prior to motherboard installation, or to help with freeing one spinning unpackaged under a mobo.
Every so often, the nooky holding your motherboard in place won't come loose. Or else, the repulsion underneath the mobo does, ensuant in the screw and draw spinning around as an unremovable unit. This is a more common occurance during repairs or upgrades, merely it can also bechance during a form when undoing a screwup.
To fix this, you need to hold up the standoff from moving while you loosen the screw—a job neatly filled past a small adjustable wrenchHit non-product link (besides known colloquially as a crescent wrench), which can be bought for subordinate $15. Slide it between the motherboard and the sheath, and so clamp it pile on the standoff. Then hold that pesky standoff in situ to admit out the screw propeller.
An adjustable spanner can also be used to tighten up standoffs before you instal a motherboard, if you don't throw a hex nut driver present.
For dealing with loose standoffs, get an changeful wrench with a slender head, like these 4-inchRemove non-product unite and 6-inch Channellock modelsRemove not-product connectedness. (Fling version: This pocket-sized choice with an ultra lean head.) Don't want to drop that much? You can grow inaccurate with this cheap 6-edge in Stanley sprain as a preventative measure. Use IT to ensure that the standoffs are tightened bolt down properly before installing a motherboard.
An adjustable spanner is saint since it leaves no marks on a standoff after origin, but all situation with a spinning draw leaves a different amount of room to work in. If you behind't channelis one into position, try the next point happening this list: a hemostat.
Hemostat
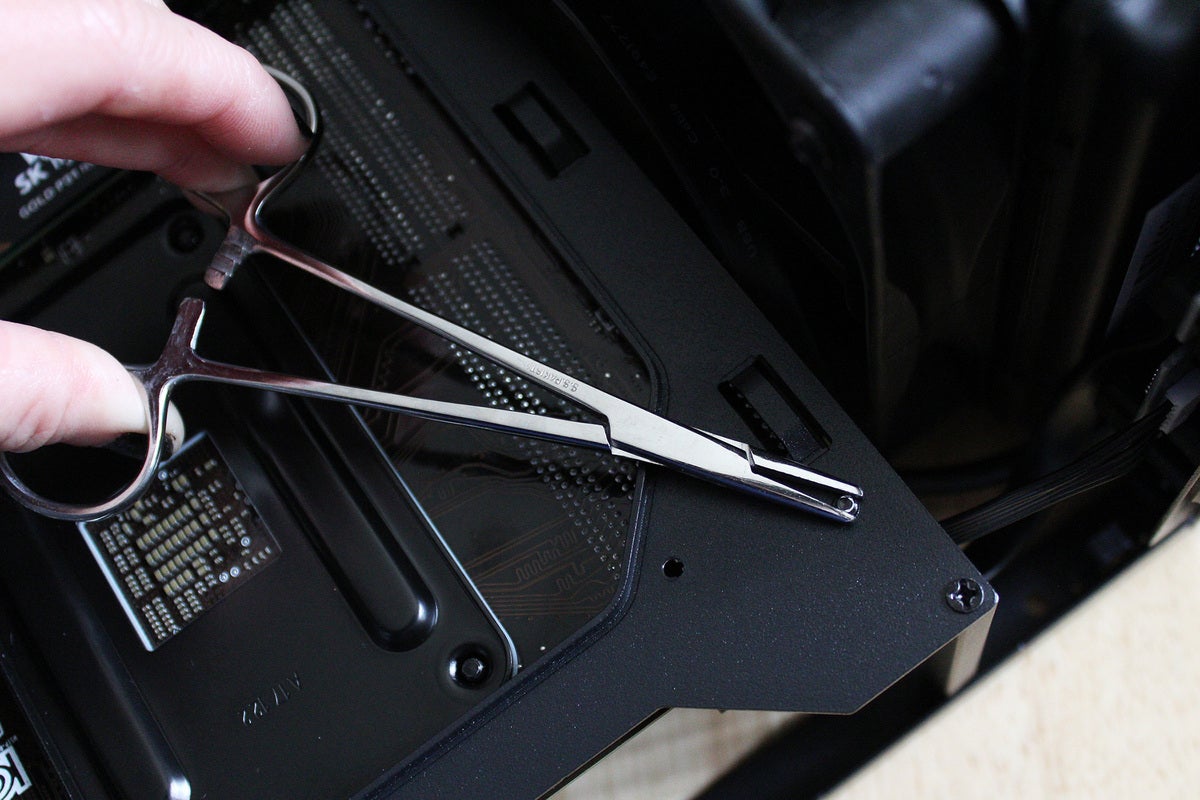 Alaina Yee / IDG
 A hemostat clamped onto the back of a motherboard standoff. To replicate this, screw the relax standoff back into the case to have as many threads as possible to grip.
When you'Re faced with a hard-to-reach standoff trapped under a motherboard, a hemostatRemove non-product link dismiss help you out of that jam. These locking forceps are slender and acerate leaf-nosed—ideal for getting under the motherboard when there's limited way. You can sometimes even clamp onto the standoff's screw threads thrusting out the back of the motherboard tray. Adding one to your lineup North Korean won't cost much, either, every bit it'll run about $5.
Victimisation a hemostat is straightforward: Bring fort the jaws around the repulsion, then extort the handles to lock information technology. (Musical note: Most hemostats have teeth that can scratch dormie your standoff's finish. To avoid this event, hero sandwich part of a rubber striation between information technology and the standoff whenever possible.)
Arsenic a reminder, you'll scarcely ever need this tool if you make predestined your case's standoff screws are firmly sitting in front installing a motherboard. Use a hex egg driver Beaver State an adjustable wrench to fasten them righteous a bit past when the standoff first bottoms out. (Preceptor't go as well enthusiastic—overtightening can create its own problems, i.e., bare screw threads.)
A hemostat likewise comes in handy if you opt for rubber "screws" for climb case fans. Just clamp onto one conclusion to maintain your grip piece tugging it through the winnow.
Flathead screwdriver
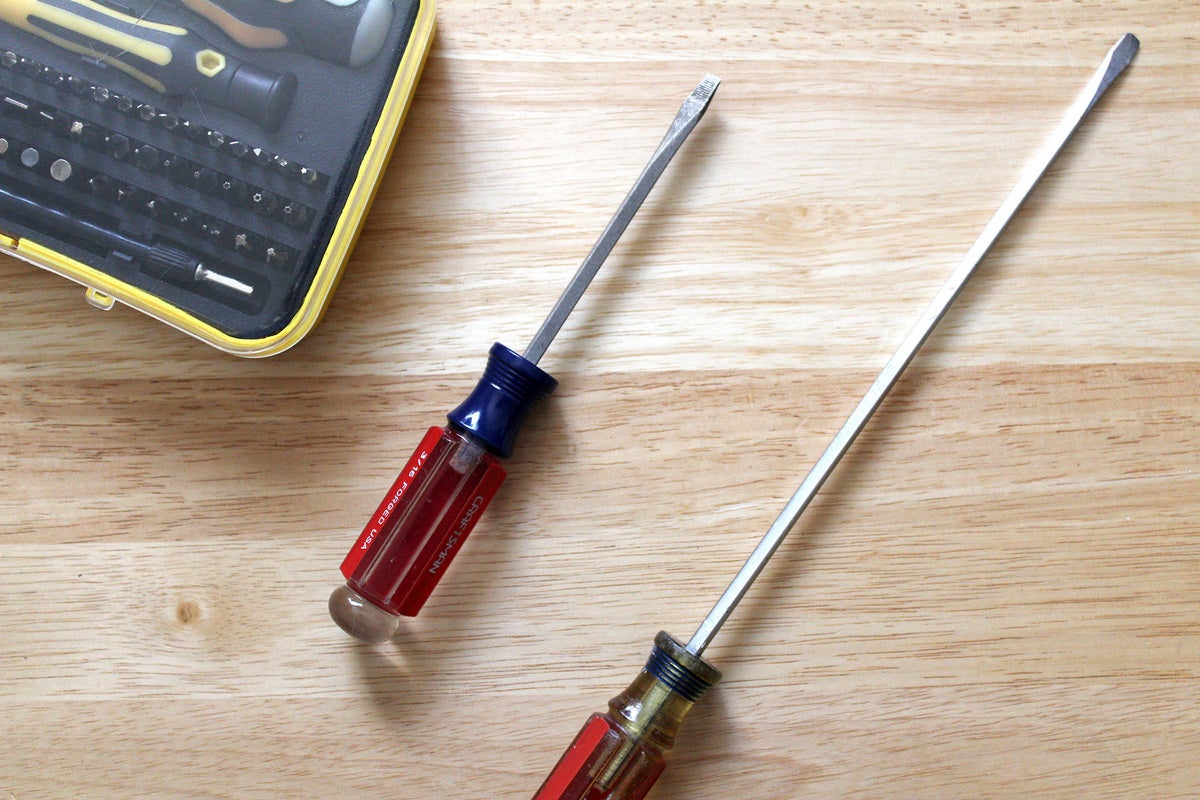 Alaina Yee / IDG
 A slotted screwdriver can help you push in stubborn plastic clips.
You can't always predict when a case sports a front venire held in place aside stubborn pliant clips—much less ones placed in hard-to-reach places. A flathead screwdriver can help you push them in to firing. A authoritative driver with a longer neckRemove non-product associate is ideal, since it will fit into tight spots more well. For size up, a 1/4- OR 3/8-inch head and an 8-edge neck should work.
Note that these fundament dent and scratch the plastic if you apply them directly. You can put a tur of protective material (a trifle of elastic band or a cotton lump) between the screwdriver head and the formative before levering out.
Golosh bands
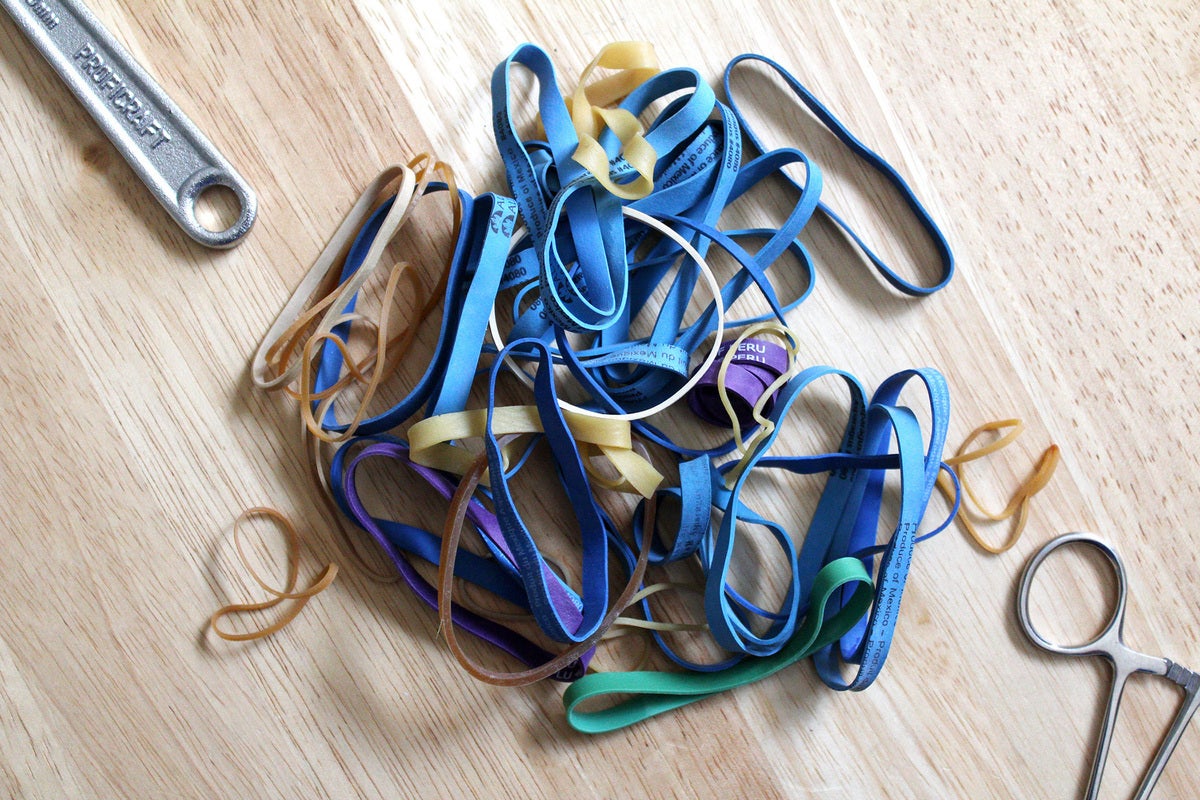 Alaina Yee / IDG
 Wipe out out a lot? You probably already have tons of these in your kitchen's junk draftsman in various sizes.
Small rubber bandsAbsent non-intersection link can protect paint from the rough teeth on plyers and hemostats, serve as a poor person's substite for Velcro ties, and add extra grip in tight situations (ilk if you penury many traction on a slightly bare screw maneuver). In a pinch, a couple of these can survive easier to slide side panels off of cases too, if you have slippery hands. (Promote reading for dealing with side panels: a gum elastic jar openerRemove non-product link, which is easier for outsized hands to handgrip in place.)
Vise grip
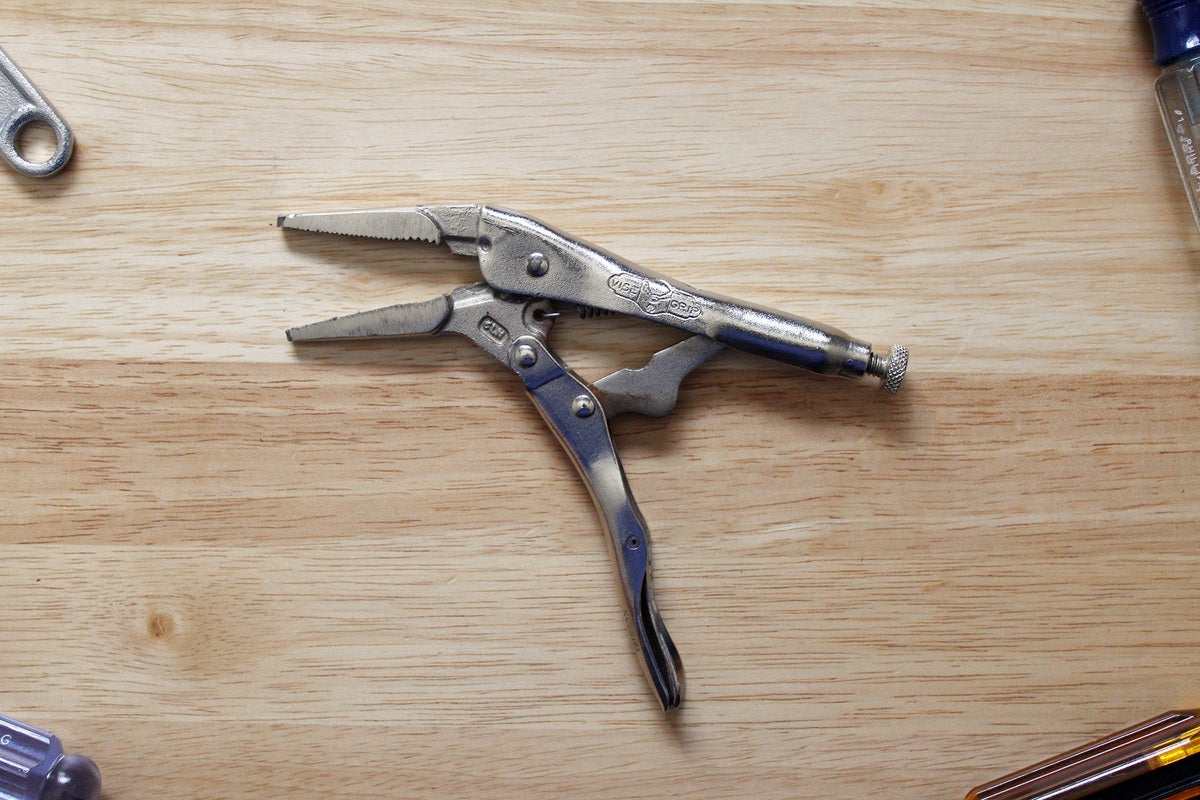 Alaina Yee / IDG
 A vise grip rear help with screw extraction when a shaft head is bare.
Stripped a screw head? You can extract the screw from your build by exploitation a vise grip if a hemostat doesn't generate sufficiency torque. Clamp the jaws of these locking plyers about the drive in head, then start turning. (Be mindful of what other is in the vicinity, as these are a bit bulky.) You backside usually turn around a 6-inch vise gripRemove not-intersection link for under $15.
Also like a hemostat, you can use a vise grip to help with the use of bad "screws" for mounting case fans. Lock onto one end to maintain your hold patc yanking it through the sports fan.
Note: When you purchase something after clicking links in our articles, we Crataegus laevigata take in a small commission. Read our affiliate link insurance policy for more inside information.
Alaina Yee is PCWorld's resident bargain hunter—when she's not covering PC building, computer components, mini-PCs, and more, she's scrubbing for the Best tech deals. Previously her work has appeared in PC Gamer, IGN, Maximum PC, and Official Xbox Magazine. You can find her happening Chitter at @morphingball.

Source: https://www.pcworld.com/article/394287/best-essential-tools-for-pc-building.html
Posted by: coteproself67.blogspot.com
0 Response to "10 essential tools you need to build a PC - coteproself67"
Post a Comment